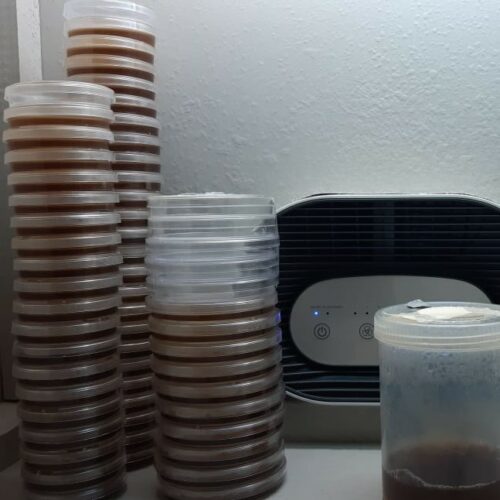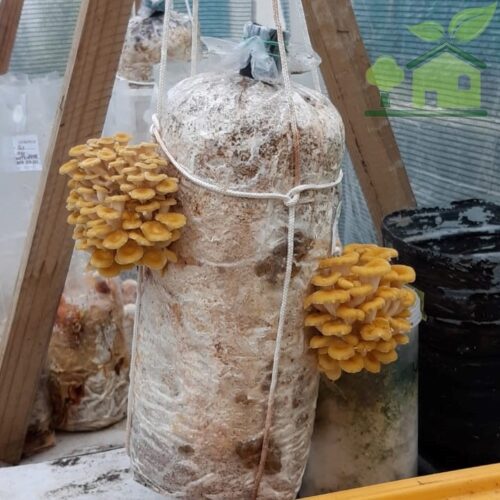
Don’t let the exotic look fool you – growing Cordyceps militaris at home is achievable!
Summary
This guide breaks down the process of cultivating Cordyceps militaris, a potent medicinal mushroom, from start to finish. We’ll cover the essential steps, from preparing your substrate to harvesting your precious fungi, making it accessible even for those new to mushroom cultivation. We’ll focus on practical application, drawing from observed results and established principles to ensure your success.
Introduction to Cultivating Cordyceps Militaris
For ages, Cordyceps species have been revered in traditional medicine, particularly in Asia, for their purported benefits in boosting energy, endurance, and immune function. Historically, these fungi were foraged from high-altitude regions, growing parasitically on insect larvae. This natural scarcity and difficulty in collection made them rare and expensive. The challenge for us, as practical bio-engineers, is to replicate these conditions in a controlled environment, making this valuable resource accessible and affordable. We need a reliable method to grow Cordyceps militaris consistently, ensuring quality and yield without relying on wild harvesting.
Introduction to Cordyceps Cultivation
Cordyceps militaris is an entomopathogenic fungus, meaning it naturally parasitizes insects. However, for cultivation, we use nutrient-rich substrates, often grain-based, to provide the necessary food source for its mycelial growth. The key to successful cultivation lies in understanding and replicating the specific environmental triggers that encourage the fungus to move from vegetative growth (mycelium) to reproductive growth (fruiting bodies, or ‘stroma’).
This transition is sensitive. It requires precise control over temperature, humidity, light, and air exchange. Unlike many other mushrooms, Cordyceps militaris needs light to initiate fruiting. It also has specific temperature ranges for colonization and fruiting, and a delicate balance of CO2 levels. Get these wrong, and you’ll end up with poor yields or, worse, contamination.
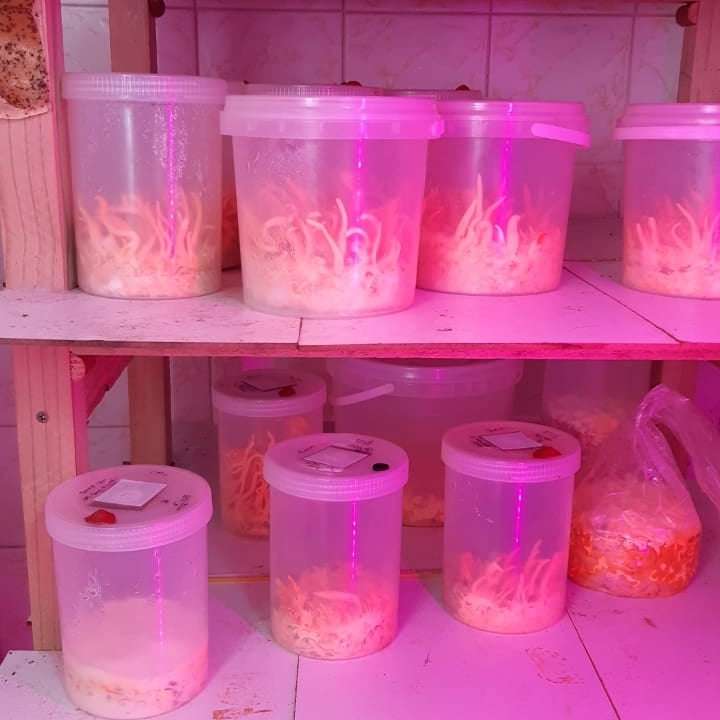
Cordyceps cultivation is notably resource-efficient as the enclosed bottles naturally retain moisture, eliminating the need for Smart Humidification. This process requires only minimal lighting (less than 400 lux) to be successful.
Let’s get our hands dirty and walk through the practical steps.
1. Preparing the Liquid Culture

Cordyceps mushrooms differ significantly from typical fungi in their cultivation process. The cultivation of Cordyceps typically starts with a liquid culture. This method involves inoculating the Cordyceps mycelium into a nutrient-dense liquid solution, which facilitates the rapid growth of the mycelium—the essential vegetative component of the fungus. Over the years, a straightforward liquid culture recipe has proven effective in providing a clear medium that significantly enhances rapid colonization. Here it is:
The subsequent phase involves transplanting the mycelium onto a foundational substrate, such as a mixture of grain or Brown Rice. This substrate offers the essential nutrients required for the development of fruiting bodies.
Basal Substrate
Cordyceps represent a distinctive group of fungi that uniquely parasitize insects, with a preference for caterpillars. In their natural environments, these fungi infect their hosts, consume their internal tissues, and ultimately give rise to a fruiting body that protrudes from the host’s head. Recent advancements in cultivation technology have enabled the growth of Cordyceps using grain-based substrates, rendering the process more ethical and efficient for commercial production.
The Basal Substrate plays a pivotal role in recreating an insect’s natural habitat, crucial for the successful cultivation of Cordyceps fungi. Historically, organic carriers such as silkworms and crickets were employed for this purpose. Currently, grain has become a popular medium, especially a specific strain developed by the University of Taiwan, which is optimized for growth on wheat. However, grains generally exhibit limited water-retention capabilities. Consequently, brown rice is often favored as it surpasses standard grains in maintaining moisture. Despite these trends, notable success has been achieved by utilizing our indigenous corn-based staple, Samp, which also demonstrates excellent water retention.
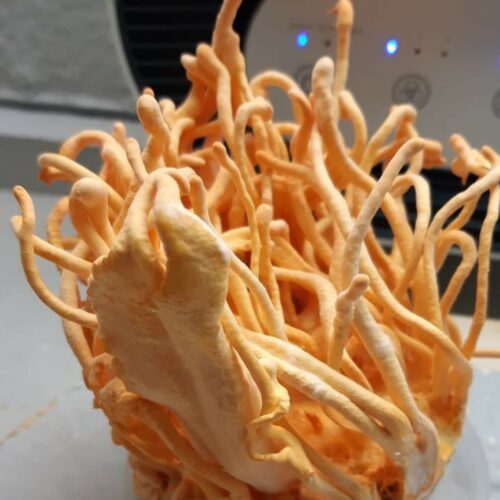
The cultivation process starts by adding precise portions of rice or samp into the bottle, aiming to achieve consistent results. Specifically, each 750ml cultivation bottle is carefully filled with 60g of either brown rice or samp. Following this, 80ml of basal media is meticulously measured and added to ensure the optimal moisture content lies between 60-65%. This precise combination is crucial for fostering the ideal conditions for growth. Due to the raised moisture levels and the compact design of the bottles, sterilization is efficiently accomplished within just 60 minutes. This can be carried out using common kitchen devices such as a standard household pressure cooker or an Instant Pot, ensuring a convenient and effective sterilization process. After the sterilization phase, each bottle is inoculated with 5ml of liquid culture. The bottles are then stored in complete darkness to promote uninterrupted growth until the substrate is fully colonized. This stage is essential for the successful propagation of the cultures.
Basal Media
The basal media we advise for use with Whole Brown Rice or Samp is:
- 1000ml water
- 21 gram Brown Sugar (unlike other mushrooms Cordyceps require Sucrose)
- 17 gram Dextrose (aka Glucose in South Africa)
- 5 gram Peptone (a protein source for mycelium)
- 5 gram Yeast Extract (supplies vital Vitamin B12)
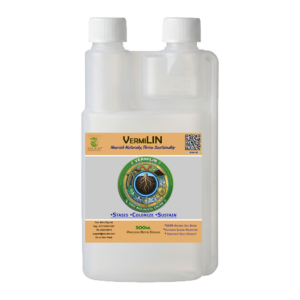
- 40 ml VermiLIN (supplies essential nutrients and humates)
- 2-5 gram Calcium Carbonate (regulates pH in substrates and prevents formation of excessive acids)
Another basal media media that may be easier is thanks to Jeff Manganaro’s Egg Tek:
- 3 whole eggs blended well (shells included)
- 1 Tablespoon malt extract
- 1 Tablespoon VermiLIN (15 ml)
- Add ingredients to blender, blend, add water to bring to 500ml blend again (just short 3 second bursts)
Step-by-Step Guide for Cultivating Cordyceps
- Start by preparing a sterile environment and equipment for the liquid culture.
- Inoculate the liquid culture with Cordyceps mycelium and incubate at the optimal temperature for colonisation – 22 to 25 degrees Celsius.
- Prepare Basal Substrate, and sterilize.
- Once the mycelium liquid culture has grown, transfer it to the basal substrate and incubate in dark until fully colonized.
- Create a fruiting chamber with controlled lighting (<400Lux for 14 hours) and temperature (<20 °C) for fruiting body formation.
- Harvest the mature fruiting bodies and dry them for storage or consumption.
- Repeat the process to continue cultivating Cordyceps for a sustainable supply.
Common Mistakes to Avoid in Cordyceps Cultivation
- Using contaminated equipment or substrate, which can introduce harmful bacteria or fungi.
- Neglecting proper hygiene practices, leading to contamination and poor growth.
- Failing to monitor and adjust temperature and humidity levels, affecting fruiting body formation. The cordyceps first has to colonize the substrate in the dark, then exposed to fruiting conditions with a 14-16 hour light cycle, on pinning the light cycle reduced to 12 hours.
- Over colonising the substrate. If left too long in the dark then a thick mycelium layer will form on substrate surface, the cordyceps will then not fruit, or have a extremely low yield.
- Harvesting fruiting bodies too early or too late, resulting in lower quality and potency. When the tips get a white sheen it is time to harvest as now sporulating.
- Skipping steps or rushing the cultivation process, leading to subpar results and wasted resources.
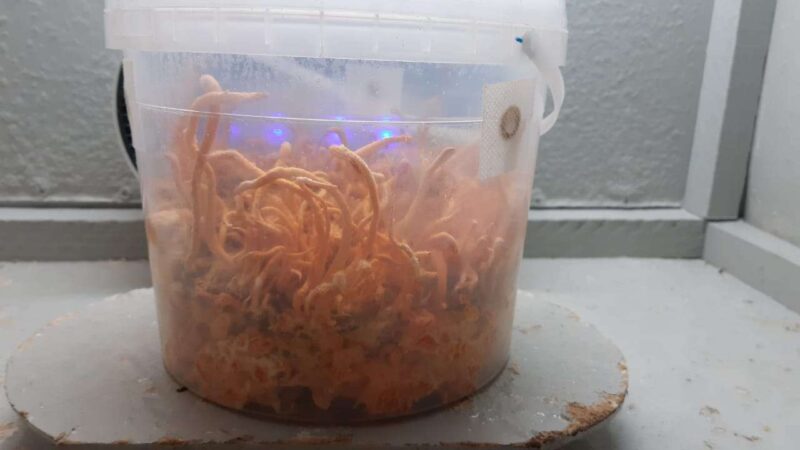
Cultivating Cordyceps demands meticulous care, precise attention to detail, and an openness to learning from errors. This guide is designed to steer beginners away from typical mistakes, enabling them to cultivate Cordyceps successfully, whether at home or on a commercial scale. Equipped with the appropriate expertise and methods, engaging in the cultivation of Cordyceps can become both a fulfilling and lucrative endeavor for enthusiasts in the realm of medicinal mushrooms.
-
STS
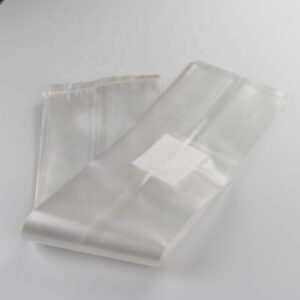
10x8x50cm Gusseted Spawn Bag | 0.2μm Filter Patch
Price range: R16 through R1,218 Select options This product has multiple variants. The options may be chosen on the product page🧫 Autoclavable Polypropylene mushroom spawn bag
🧫 High-flow 0.2μm filter patch.
🧫 Gusseted stand-up design – 10x8x50 cm
🧫 Suitable for grain spawn -
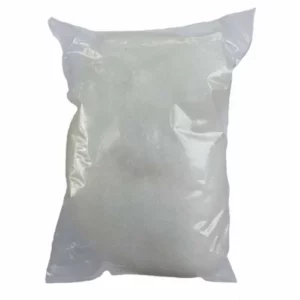
Polypropylene fiber stuffing – Hydrophobic Filter
R135 Add to basket🧫 Polypropylene hydrophobic filtration.
🧫 Autoclave DIY Filter.
🧫 Ideal for jar lids and monotubs. -
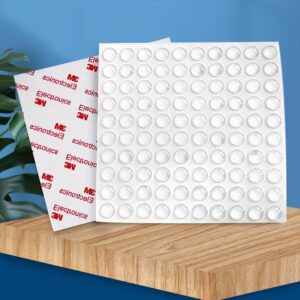
Self-Healing Silicone Injection Ports (SHIP) | 3M Adhesive (100-Pack)
R295 Add to basket🧫Clear and Durable: Made of transparent silicone
🧫Integrated 3M adhesive bond
🧫Pack of 100 off 10mm wide x 3 mm thick
🧫Just peel, stick, and ready to run. -
STS
 📜Reference
VermiLIN – Living Vermicast Soil Biome Microbial Concentrate 500ml
Original price was: R250.R169Current price is: R169. Read more🌱 Stabilized Living Vermicast Biology
🌱 Ionic Osmosis Extended Shelf Stability
🌱 Built-In Bettix Chamber For Dosing
🌱 Powers Living Soil & Biochar Charge
- Socratic Questions (5 Search Terms):
- How do I start cultivating Cordyceps militaris at home?
- What is the best substrate for Cordyceps cultivation?
- Why does Cordyceps need light to fruit?
- Optimal temperature and humidity for Cordyceps stroma?
- How to increase cordycepin levels in homegrown mushrooms?