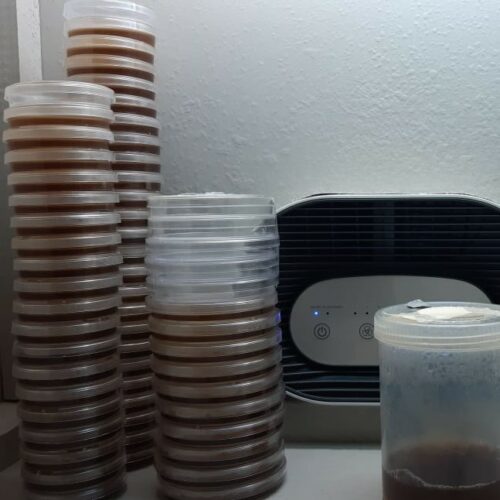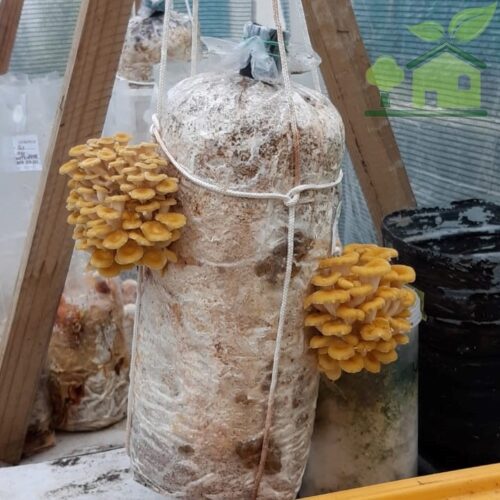
The “A-Fold” technique creates a precise self-seal in gusseted bags, ensuring 100% seal on cooling, and no burst bags.
Summary
Master the professional “A-Fold” technique for sterilizing gusseted spawn bags. This Note provides exact timings for various grain loads for different bag sizes to streamline operations.
Introduction
Transitioning from jars to spawn bags is the biggest leap a grower can make. Modern Polypropylene (PP) bags with 0.2µm ePTFE filtration have revolutionized the industry, but they require a disciplined protocol. The “Bash them with Glory” approach leads to ballooned bags, burst seams, and sour rot. This guide outlines our STS protocol for perfect sterility – and maximising your spawn bag potential.
1. The “FIFU” Technique: Filter-In, Fold-Under
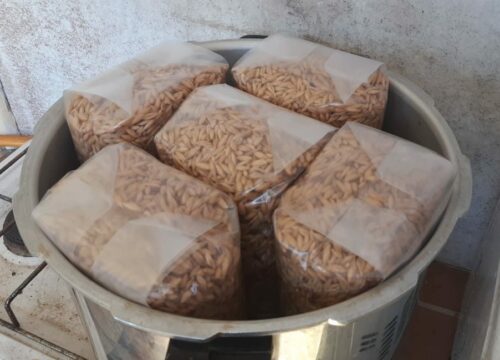
The folding technique is a “make or break” step. It determines whether your bag creates a natural vacuum seal as it cools. You fill your bags only a third of the way, fold close and the put the top flap under the bag – with filter in – showing to grain..
The SPeS Gold Rule: Filter Inward, Flap Under.
One of the most common errors is folding the filter patch to the outside. For our STS-tested gusseted bags, the filter must face INWARD (towards the grain).
![10 x 8 x 50cm Gusseted Spawn Bag [0.22μm Filter]](https://www.spes.co.za/wp-content/uploads/2021/02/WhatsApp-Image-2021-08-02-at-10.28.09.jpeg)
10 x 8 x 50cm Gusseted Spawn Bag [0.22μm Filter]
Commercial-grade 60 Micron PP spawn bags featuring a high-precision 0.22µm ePTFE filter patch. Engineered for maximum sterility during grain spawn production and master culture expansion. Gusseted design for upright stability and easy filling. Autoclavable up to 126°C.
“Professional Sterility for High-Success Mycology”
Why “Filter-In” Wins:
- The Check-Valve: As the bag heats, air expands and escapes through the filter. When the bag cools, the resulting vacuum pulls the smooth plastic tail tight against the bag. Plastic-on-plastic contact creates a temporary airtight seal, making the entire length of the flap self-seal.
- The “Flat-Pack” Finish: Tucking the filter prevents “Neck Bloat.” Your bags will stay flat and professional, making the final heat-sealing process in your cleanroom seamless and crinkle-free.
How to Fold:
- Expel Air: Flatten the bag neck and push out as much air as possible.
- The Gusset Tuck: Ensure side gussets are tucked neatly inward (the “T” layflat).
- The Fold: Fold the tail down so the filter patch is on the inside of the fold.
- The Weighting: Place the bag in the sterilizer so the weight of the grain sits on the folded tail. This holds the “Self-Seal” in place during the cooling cycle.
2. Precision Sterilization Table
Sterilization is about “Heat Soak.” Use this table to adjust your timer based on the Volume of media, which is a more accurate metric than mass for various grain/media content types.
| Bag Size (cm) | Application | Media Volume | Recommended Time | Target / Notes |
| 10 x 8 x 35 | Mother Spawn | <= 800ml | 90 Minutes | G1 Master Prep; rapid core sterility. |
| 10 x 8 x 50 | Comm. Spawn | <= 1600ml | 90 Minutes | Standard G2; the “Commercial Sweet Spot.” |
| 13 x 12 x 40 | Large G2 | <= 3200ml | 120 Minutes | Requires deep thermal “soak” time. |
| 20 x 12 x 50 | Titan Bulk | <= 4800ml | 150 Minutes | Max limit for core penetration. |

STS-07 kg/h Commercial Ultrasonic Humidifier – Dual Supply
High-humidity CEA solution! This stainless steel unit delivers 7 kg/h of cool mist for areas up to 80m². Features a Dual Water Supply for municipal or bucket use. STS-Tested and CE Accredited.
“Next-Generation Humidity for Controlled Environments”
> STS Pro Tips:
- First run Canner without the Rocker for 10 minutes – to vent enclosed air in system.
- Times start only once your gauge reaches 15 PSI (121°C).
- Always allow the pressure to drop to zero naturally to avoid “Flash Boiling” and bag rupture.
- By limiting volume to 800ml in our 35cm bags, you avoid the ‘cold core’ syndrome of larger 5kg bags. 90 minutes at 15 PSI ensures 100% lab-grade sterility for your most valuable genetics.
- For larger ‘cooks’ and peace-of-mind, we add a small 2cm strip of autoclave tape over the end flap. This locates the flap under bag to prevent dislocation – and ensure sterility conditions reached.
3. Study on Optimal MC for Red Sorghum
Red Sorghum (Milo) is unique because of its high tannin content and small size. A favourite of many A study comparing different grains for spawn production (specifically for Agaricus and Pleurotus) found the following for Sorghum:
| Moisture % | Result |
| 35-40% | Slow colonization; mycelium struggles to “jump” between dry grains. |
| 42-46% | The Sweet Spot. Maximum surface area-to-volume ratio. Lowest contamination rate. |
| 50% + | Grain begins to burst (starch release). High risk of anaerobic “sour” spots. |
The Science of “The Burst”: When sorghum hits >50% MC, the pericarp (the skin) often ruptures during sterilization. This releases free starch. Starch is “candy” for bacteria. If your batch is sitting at 52.5%, you are in the “Danger Zone” where clumping and sour rot occur.
Why “Big Bags = Lower MC”?
Bear in mind that Sinden spawn come from the 40’s – way before commercial bags – and bottles were the norm.
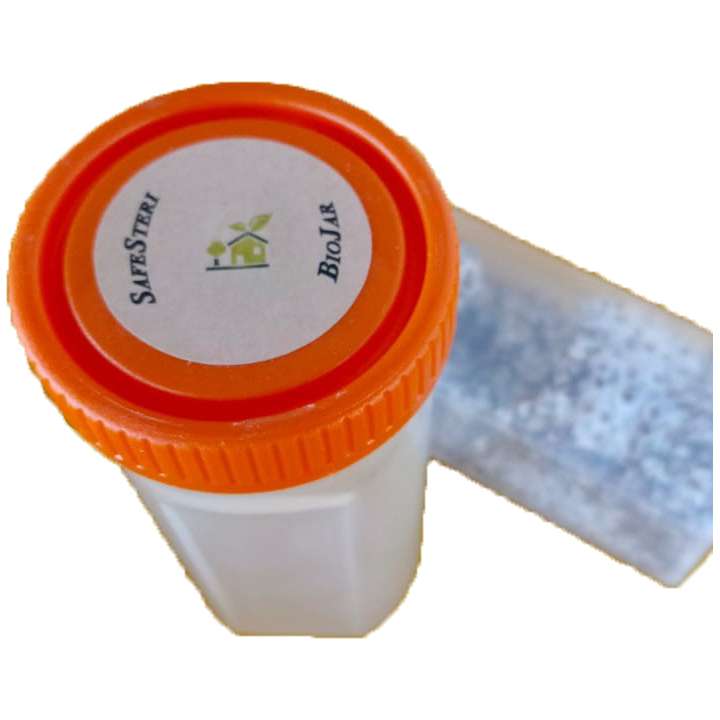
- In a BioJar (320ml), heat dissipation is easy.
- In a 3kg Titan Bag, the center of the bag stays hot for hours after you take it out of the PC. If that grain is at 55% MC, the heat + moisture effectively “cooks” the grain in the middle into a solid block of starch.
- The Pro Strategy: Aim for 42-44% for 3kg bags. The slightly drier grain allows for better air gaps between the seeds, which helps the core cool down faster and prevents bacterial “thermophilic” blooms.
4. Summary Checklist
- Hydrate Sorghum/Milo to 44% for optimal flow.
- Expel all air before folding.
- Filter IN and Fold Under the bag (FIFU).
- Autoclave tape to locate flap.(Optional)
- Sterilize according to Volume (refer to table).
- Cool completely inside the PC to maintain the vacuum “Self-Seal.”
The folding technique is a “make or break” step because it determines whether your bag creates a natural vacuum seal as it cools. If you fold it wrong, you can trap air that causes the bag to burst, or worse, allow dirty air to be sucked in during cooling.
If you have problems with Spawn – we have written a course for making Spawn – all this and more to up your game and make hassle free Sorghum Spawn in an hour…
The STS Final Word
Success in commercial mushroom cultivation isn’t found in a single ‘magic’ trick, but in the disciplined repetition of high-standard protocols. By mastering the A-Fold technique, respecting the Thermal Mass of your bags with correct sterilization times, and moving away from the high-moisture ‘Sinden Trap’ toward a leaner 44% MC, you are shifting from a hobbyist mindset to a commercial operator.
Your grain spawn is the foundation of your entire farm. Treat it with the technical respect it deserves, and your yields will follow.
Happy growing from the SPeS team!”
-
STS
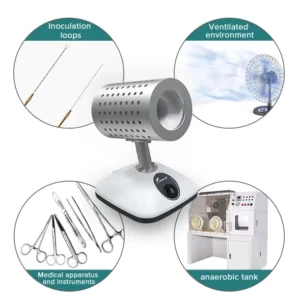
Infrared Lab Sterilizer: Flame-Free Inoculation Tool
Original price was: R5,115.R3,995Current price is: R3,995. Add to basket🧫 Sterilises loops & scalpels (35mm).
🧫 Eliminates open flame hazards.
🧫 Zero airborne contamination risk.
🧫 Compact, safe, and robust. -
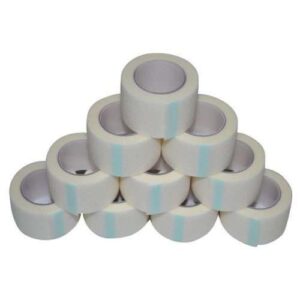
Microporous Breathable Tape (5m)
R55 Add to basket🧫 5m roll of breathable microporous tape.
🧫 Latex-free and easy to tear.
🧫 Providing filtered gas exchange.
🧫 Fully autoclavable and hypoallergenic. -
STS
![Sterile #11 Scalpel Blades [Bulk Pack of 20]](https://www.spes.co.za/wp-content/uploads/2024/07/11-Scalpel-Blade2-1-300x300.jpg)
Sterile #11 Scalpel Blades [Bulk Pack of 20]
Original price was: R125.R80Current price is: R80. Add to basket🧫 Twenty off sterile #11 pointed-tip blades.
🧫 High-carbon steel for long-lasting lab precision.
🧫 Universal fit for standard #3 scalpel handles.
🧫 Individually wrapped to ensure medical-grade sterility. -
STS
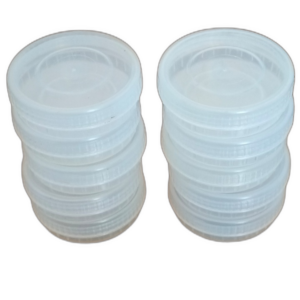
73mm Durable Autoclavable Petri Dishes for Lab Use
Price range: R24 through R180 Select options This product has multiple variants. The options may be chosen on the product page🧫 73mm screw-top Polypropylene Petri Dish.
🧫 Autoclavable and resists breakage.
🧫 Deep 20mm profile holds 3x more agar.
🧫 Screw Lid for easy access.
Socratic Questions:
- How to sterilize 3kg mushroom spawn bags without failure?
- What is the “A-Fold” technique for gusseted bags?
- How to prevent Wet Spot (Bacillus) in grain spawn?
- Optimal sterilization time for 1kg vs 3kg grain bags?
- Is 55% moisture too much for mushroom grain spawn?