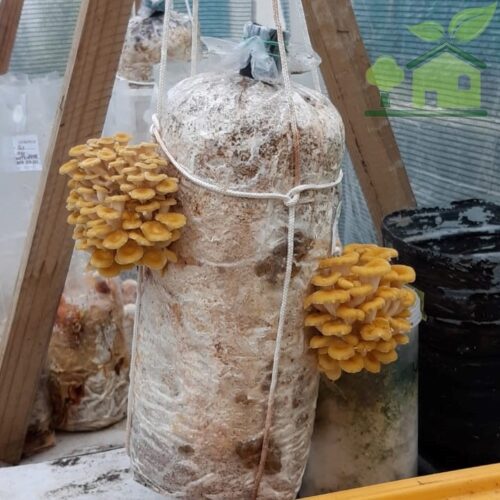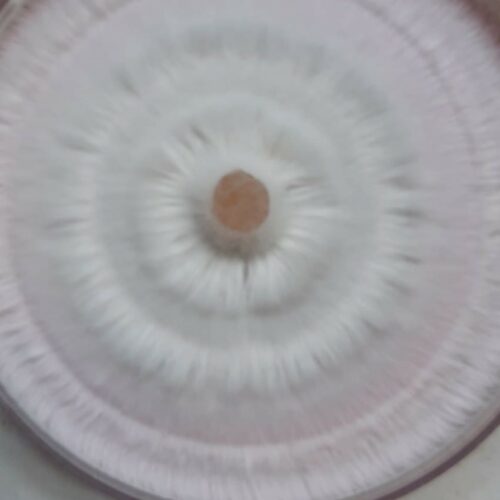
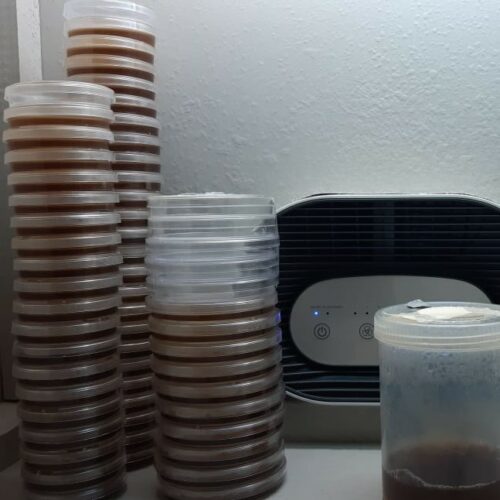
Unravel the historical roots of sterility, preventing contamination, and the impact on your mushroom lab.
Summary
Explore Louis Pasteur’s revolutionary “Germ Theory of Disease” and its enduring relevance to modern aseptic practices. This guide bridges historical scientific breakthroughs with practical, easy-to-understand techniques, empowering you to achieve contamination-free cultivation.
The Unseen World and the Dawn of Asepsis
The world of mushroom cultivation is a fascinating journey into the unseen. Before we can grow our desired fungi, we must first understand and manage the microscopic life around us.
As John Wesley wisely put it, “Cleanliness is indeed next to Godliness,” a principle that rings especially true in mycology.

Sometimes, “aseptic technique” is mistakenly called “sterile technique.” True sterile technique is typically limited to highly controlled environments like operating theaters, where every single microbe is eliminated. For the urban farmer, a completely sterile working environment doesn’t really exist. However, by following a number of simple, common-sense procedures, you can drastically reduce the risk of culture contaminations. Understanding the history behind these practices, starting with Louis Pasteur, will show you why these steps are so important and enhance your practical application today.
2. Louis Pasteur’s Germ Theory: A Paradigm Shift
In the 1860s, Louis Pasteur introduced his groundbreaking “Germ Theory of Disease.” Before Pasteur, many believed in “spontaneous generation” – the idea that living organisms could arise from non-living matter (like maggots from rotting meat). Pasteur’s elegant experiments shattered this myth.
His most famous work involved swan-neck flasks. He placed broth in flasks with long, S-shaped necks, then boiled the broth to kill any existing microbes. The swan neck allowed air to enter, but trapped airborne dust and microbes in its curves. The broth remained clear and sterile indefinitely. If he broke the neck, allowing dust to fall in, the broth quickly became cloudy with microbial growth. This definitively proved that microbes didn’t spontaneously generate but came from the air.
The fundamental principles of Germ Theory state that specific microorganisms are responsible for specific processes – be it fermentation, disease, or spoilage. This revelation had a massive impact, revolutionizing medicine, food preservation (think pasteurization!), and, directly, the field of mycology.
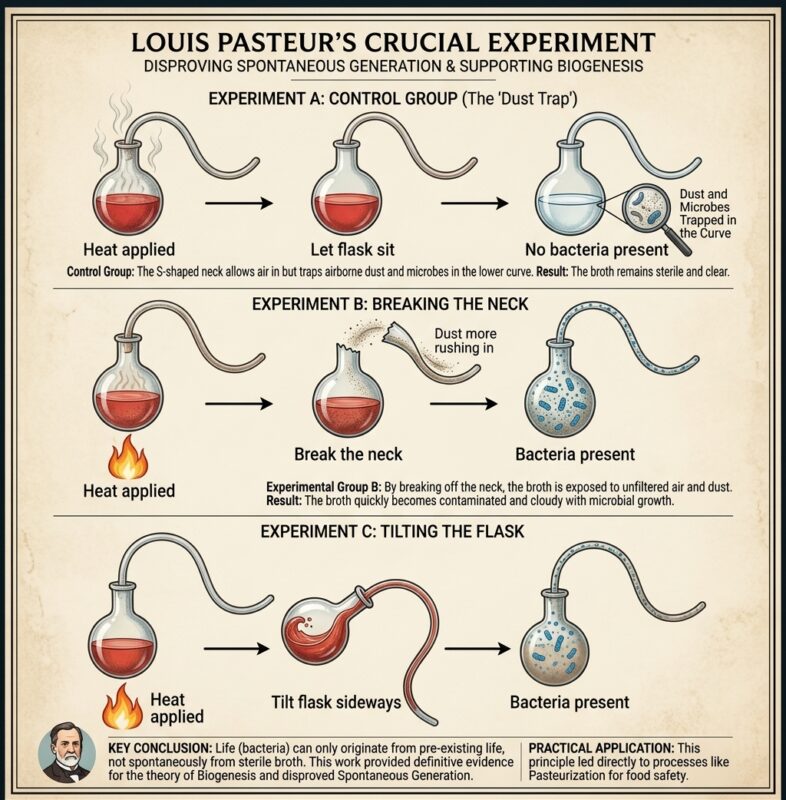
Though ancient now, Pasteur’s “Germ Theory of Disease” is the very basis of all aseptic methodologies we use today. The importance of aseptic technique in mycology cannot be overstated. Contamination vectors – whether they are spores, bacteria, or other fungi like Trichoderma – can be a single, minuscule spore that ruins an entire batch of spawn, substrate, or inoculant, wasting weeks of work.
For maybe a more modern version than the archaic theory prose check WikiPedia’s entry.
3. From Theory to Practice: The Birth of Aseptic Technique
Pasteur’s discoveries directly led to the development of techniques to control microorganisms. Initially, this was antiseptic technique (killing microbes on living tissue, like wound care), which then evolved into aseptic technique (preventing microbes from entering a sterile area in the first place). For our home lab, aseptic technique is about diligently minimizing the entry of unwanted microorganisms.
An excellent example of theory shaping practice is the Petri dish itself. It was invented in 1887 by Julius Richard Petri, a bacteriologist working for Robert Koch (another pioneer of germ theory). Its simple design – a shallow dish with a slightly larger lid – was a direct response to germ theory. The lid creates a barrier, forcing gas exchange to occur by diffusing up and under the lid, almost like Pasteur’s barometric loop in the Swan-Neck flasks. This simple cover helps prevent heavier-than-air spores from directly falling onto the agar surface, vastly reducing contamination compared to open plates.
Now we had easy access to contents without breaking the neck! a modern spin on the classic Petri dish is our reusable autoclavable screw-top Petri Dishes, so the bottom not fall out when handling!
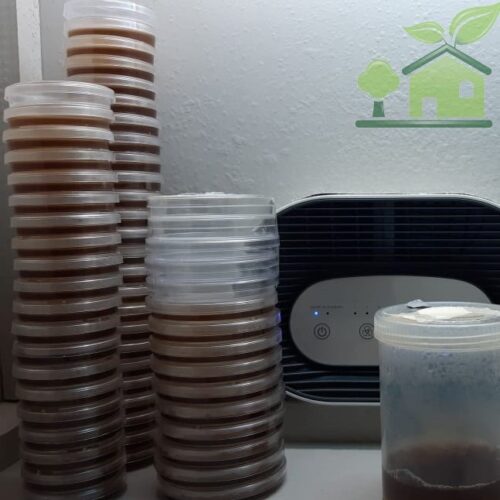
In modern mycology, we also see this principle in spawn bags. These bags feature special filter patches, often with HEPA-like filtration of 0.2 micrometers. This allows for essential gas exchange while filtering out airborne contaminants, protecting the sterile grain inside.
4. Core Pillars of Modern Aseptic Technique: Your Action Plan
4.1 You, the Practitioner: Minimizing Human Contamination
Remember that 90% of the time, the major source of contamination is YOU! As John Wesley said, “Cleanliness is indeed next to Godliness…”
- Personal Hygiene:Take a shower before work, tie up long hair, and avoid loose clothing that can stir up dust and spores.
- It is highly recommended to wear gloves. This prevents foreign contaminants from your skin from contacting your samples.
- If gloves are not used, sanitize hands thoroughly before and after working, or if you leave the work area.
- Hand and Surface Sanitization:
- Always wipe your hands and work area with 70% ethanol (rubbing alcohol). While 99% isopropyl alcohol evaporates faster, the 70% solution has a longer ‘drying time,’ allowing more contact time to effectively kill microbes before it evaporates.
- Wipe the outside of all containers, flasks, plates, and dishes with 70% ethanol before placing them in your work area.
- Every time your hands leave your aseptic workspace and return, sanitize them again. Do the same for any objects you bring in.
- Container Management:
- Always cap bottles and flasks after use. Seal Petri plates with Grafting– or Paraffin film, or place them in resealable bags to prevent microorganisms and airborne contaminants from entering.
- Never uncover a sterile flask, bottle, or Petri dish until the exact moment you are ready to use it. Never leave it open to the environment; replace the cover as soon as you are finished.
- The Urban Farmer’s Challenge:
- Before work, spray your area with a 1:9 bleach solution. This acts as an initial sterilant. If taking a break, spray again, as the damp surface will entrap stray spores. This is crucial for the urban farmer who might be working with garden soil or worm bins, where Trichoderma spores (3-5μm in size) are ubiquitous. Many a time, taking a “quick shortcut” after working in the garden has led to the “Green Monster” (Trichoderma) contaminating a culture!
- Plan your day: Schedule your aseptic work window, shower, refresh, and put on clean clothes before handling agar.
This is especially true for the Urban farmer, where you can be planting next crops – or harvesting the worm bin. Remember that Trichoderma is all over, especially in the Garden, they part of the microbial life in soil. So bear in mind that you will be full of the minuscule spores – Trichoderma spp spores are 3-5μm in size. How many times haven’t I cut the corner as just want to quickly make some spawn, or transfer a plate, just to contaminate Green Monster!
4.2 Working Methodologies & Environment Control
The saying “Failing to plan is planning to fail” is particularly true in the microbial world. Plan a dedicated time slot for ‘Clean Work’.
Workspace Preparation & Maintenance:
- Close windows and doors to reduce drafts.
- Prevent sudden movements that might disturb the air.
- Make transfers over a disinfected surface. If your bench is hard to clean, cover it with a tough, easily disinfected sheet.
- Good initial disinfection of your work area can be done with a 1:9 concentration of household bleach to water, liberally dousing the area.
- “The wetter, the better…” – this damp surface will entrap spores and prevent them from blowing around, and give the bleach time to work.
- Start operations only when all apparatus and materials are within immediate reach.
- Complete all operations as quickly as possible, but with methodical, deliberate movements.
- Vessels must be open for the minimum amount of time possible.
Working with Heat (if applicable):
- If working in the open (without a SAB/SAC), all work must be done close to a Bunsen burner flame, where air currents are drawn upwards, creating a small sterile zone.
- When opening a test tube or bottle, immediately warm the neck by flaming it, holding the vessel as near to horizontal as possible so that any air movement is outwards.
Tool Handling:
- During manipulations involving a Petri dish, limit exposure of the sterile inner surfaces to contamination from the air.
- The parts of sterile pipettes/scalpels that will enter cultures or sterile vessels must not be touched or allowed to come into contact with other non-sterile surfaces (clothing, workbench, outside of bottles/test tubes).
- Scalpel blades that contact microorganisms must be sterilized before and after each such exposure (e.g., by flaming).
Caution: Be extremely careful when working near a Bunsen burner, as alcohol-based hand sanitizers are highly flammable.
Ed Eco is the BTK Curator, trained directly on STS research.
Ask him anything—from troubleshooting plant issues to engineering biological independence.
Clean Bench Workflow Example (when using one):
- Switch on your HEPA fan (if equipped) and UVC light (when not present).
- Spray the inside of your SAC liberally with 1:9 Bleach.
- Take your shower, put on clean clothes, relax.
- Return to work, spray the inside of the SAC again with sterilant.Crucially, switch off the UVC lamp before working! It can cause severe eye damage (“Arc-eyes”) and skin burns.
- Wear short sleeves and properly sanitize hands (70% rubbing alcohol).
- Proceed methodically with your planned work.
- Every time your arms leave the SAC, sanitize your hands. Sanitize anything you bring in.
- Keep the working surface of the SAC wet with disinfectant. If it dries, re-moisten it. This ensures any errant spores are blown down by the HEPA unit (if used) and entrapped in the disinfectant.
- When finished, spray down the inside of the SAC again with sterilant, switch off electrical equipment.
This might sound like a lot of effort, but remember you are the biggest contaminant. It becomes second-nature after a while, and there’s a certain bliss in the mindful repetition.
5. Disinfectants vs. Sterilants: Knowing Your Tools
Understanding the difference between disinfectants and sterilants is critical for effective contamination control in mycology. They kill different types of microbes and have different uses.
Disinfectant (Noun): “A chemical agent used on inanimate objects (i.e., nonliving) (e.g., floors, walls, sinks) to destroy virtually all recognized pathogenic microorganisms.” Also known as a Sanitizer. [cdc.gov]
Sterilant: “A liquid chemical germicide that destroys all forms of microbiological life, including high numbers of resistant bacterial spores.” [cdc.gov]
The key difference lies in their ability to kill bacterial endospores.
5.1. Why Endospores are the Problem
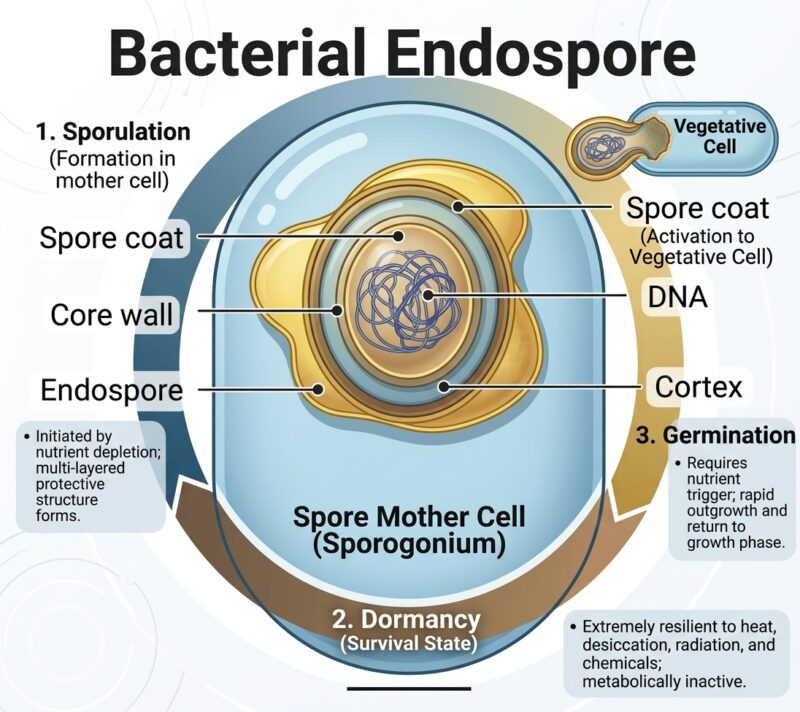
Endospores are dormant, highly resistant, protective structures formed by certain bacteria (like Bacillus species, which cause “Wet Spot” or “Sour Rot” in grain spawn). They are incredibly tough, able to survive extreme heat, drying, radiation, and many common disinfectants. For a mycologist, these are the ultimate enemy, as they can survive sterilization processes that kill most other microbes and then germinate to contaminate your cultures. This is why a disinfectant alone is often insufficient for true contamination control when endospores are present.
5.2. Common Agents & Their Efficacy
Let’s look at the agents you’ll commonly use:
Alcohol (e.g., 70% Isopropyl Alcohol / Rubbing Alcohol, Methylated Spirits)
- Category: Disinfectant.
- Action: Kills vegetative microbial life (active bacteria, viruses, fungi, yeasts) by denaturing their proteins and dissolving their cell membranes.
- Limitation:Does NOT kill bacterial endospores. This is a crucial point for mycologists.
- Why 70%? The water in 70% alcohol slows down its evaporation, allowing more contact time for the alcohol to penetrate cell walls and effectively kill microbes. 99% alcohol evaporates too quickly to be as effective.
- Use: Excellent for quick surface sanitization, cleaning hands, and wiping down tools or outer containers between sterile transfers. However, it’s not enough for sterilizing surfaces heavily contaminated with spores.
Household Bleach (Sodium Hypochlorite, typically 5% concentration)
- Action: A powerful oxidizer that denatures proteins and destroys cell components, including the tough structures of endospores.
- Efficacy: Kills vegetative microbes, viruses, fungi, and bacterial endospores.
- Dilution: For general lab use, a 1:9 dilution of 5% household bleach to water creates a practical 0.5% solution. Using “neat” (undiluted) bleach is too strong, corrosive, and potentially hazardous.
- Contact Time: This is critical! Bleach is not instantaneous. For it to act as a sterilant and effectively kill endospores, it requires at least 30 minutes of contact time (some sources suggest up to an hour, depending on concentration and organic load). This is why the slogan “The wetter, the better” is so important: keeping surfaces damp with the bleach solution for an extended period allows for sufficient contact time to trap and eventually kill those resilient spores.
- Use: Your primary sterilant for thoroughly cleaning work surfaces, especially if spore contamination is suspected or known.
Hydrogen Peroxide (H₂O₂)
- Efficacy: Kills vegetative microbes at room temperature. Above 60°C, it becomes sporicidal, meaning it kills endospores.
- Application: While not typically used for general surface sterilization in home labs (bleach is more common for that), its sporicidal properties are leveraged in certain agar media recipes, as discussed in our 5 Agar Media Hacks Lab Note, where it’s added to heated agar. We don’t “boil the dead space” with peroxide, but rather integrate it into media prep.
PAA (Peracetic Acid)
Category: Sterilant.
Action: A strong oxidizer.
Efficacy: Kills all microbial life, including endospores.
Use: PAA is a powerful sterilant used in industrial and medical settings, and is a highly effective alternative to bleach for spore control. It’s an advanced option for those seeking robust sterilization.
5.3. Practical Application for the Urban Mycologist
A layered approach is often best. Use alcohol for quick sanitization of hands, tools, and outer containers between steps. Rely on bleach for thorough, initial sterilization of your workspace and whenever you suspect or know that endospores might be present (e.g., after a contamination event, or if you’ve been working with garden soil). Understanding that endospores are your most resistant threat will guide your choice of cleaning agent. If spores are a concern, bleach is your friend, applied wet and allowed sufficient contact time.
6. Conclusion: The Enduring Power of Cleanliness
Louis Pasteur’s Germ Theory of Disease laid the scientific foundation for everything we do in aseptic mycology. It taught us that the invisible world is teeming with life, and by understanding how these microbes behave, we can control them.
By consistently applying these aseptic techniques – from maintaining a clean workspace and meticulous personal hygiene to choosing the right disinfectants and sterilants – you empower yourself to achieve successful, contamination-free cultivation. This isn’t just about following rules; it’s about adopting a mindset of mindful cleanliness that will drastically increase your yields and enjoyment in mushroom growing. Aseptic technique is a skill that improves with practice, leading to greater success and less frustration in your urban mushroom farm.
-
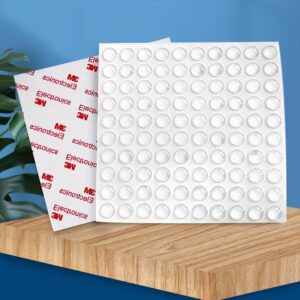
Self-Healing Silicone Injection Ports (SHIP) | 3M Adhesive (100-Pack)
R295 Add to basket🧫Clear and Durable: Made of transparent silicone
🧫Integrated 3M adhesive bond
🧫Pack of 100 off 10mm wide x 3 mm thick
🧫Just peel, stick, and ready to run. -
STS
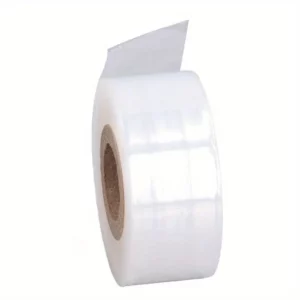
Petri/Slant Breathable PE Sealing Film [200 meters]
Original price was: R349.R195Current price is: R195. Add to basket🧫 Secure your Petrei, grafts and cultures!
🧫 Polyethylene film is waterproof yet breathable.
🧫 Allowing essential gas exchange.
🧫 Self-adhering and durable. -
STS
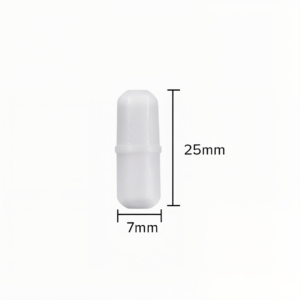
25mm ePTFE ‘Type-B’ Magnetic Stir Bar
Price range: R54 through R265 Select options This product has multiple variants. The options may be chosen on the product page🧫 High-quality 25mm ePTFE Type-B magnetic stir bar
🧫 Ensures efficient, low-friction mixing of media.
🧫 Durable and chemical-resistant.
🧫 Compatible with standard stir plates. -
STS
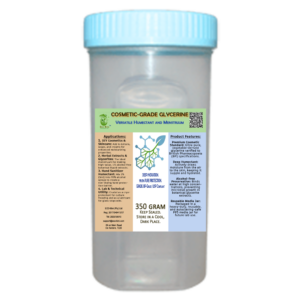
350g Pure Cosmetic-Grade Glycerine in Reusable 320ml PP Media Jar
Original price was: R159.R125Current price is: R125. Add to basket🧫Versatile 100% Humectant: Locks in moisture for skin care and DIY cosmetic formulations
🧫Shipped in a reusable, autocalvable, impact-resistant, gasketless double-seal laboratory Media Jar
🧫 Extraction Menstruum: The ideal alcohol-free carrier and preservative for 1:5 herbal glycerites
🧫Essential as a cell cryoprotectant, craft preservative, or glass lubricant
Socratic Questions (5 Search Terms):
- How to improve aseptic technique in a home lab?
- Best sterilization methods for mushroom cultivation?
- How to use a canner for mycology sterilization?
- Preventing contamination in mushroom grain spawn?
- Proper use of alcohol and bleach in a still air box?